There are situation when its not possible to setup LetsEncrypt SSL certificates using certbot’s apache or nginx plugin. If your DNS is hosted on AWS Route53, Cloudflare, Google DNS, DigitalOcean we can take advantage of DNS-challenge authorization method to get the SSL certificates from LetsEncrypt.org. Lets see how we can do this if the DNS is hosted on AWS Route53…
Lets start by installing the awscli, certbot and certbot-dns-route53 packages on Ubuntu, we will configure awscli later
apt install awscli certbot pyton3-certbot-dns-route53
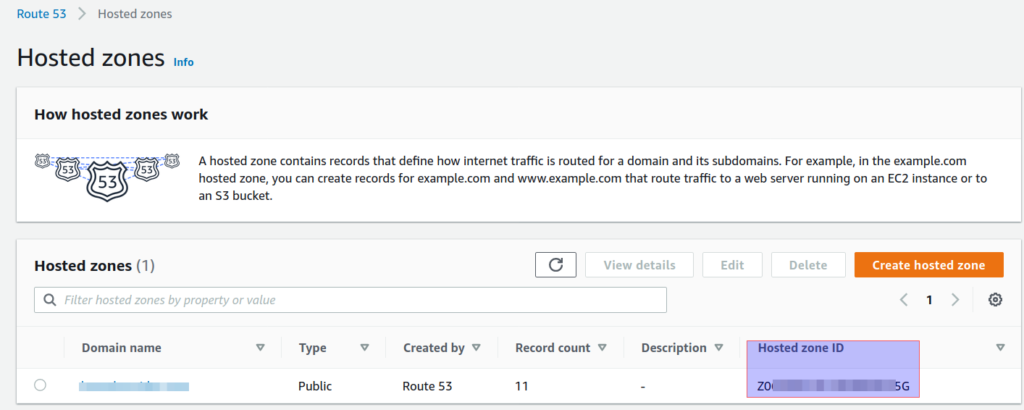
Further steps are to be done on the AWS console, first we need to get the Hosted Zone ID for our domain, for this go the Rout53 console and check the Hosted Zone page as in screenshot below
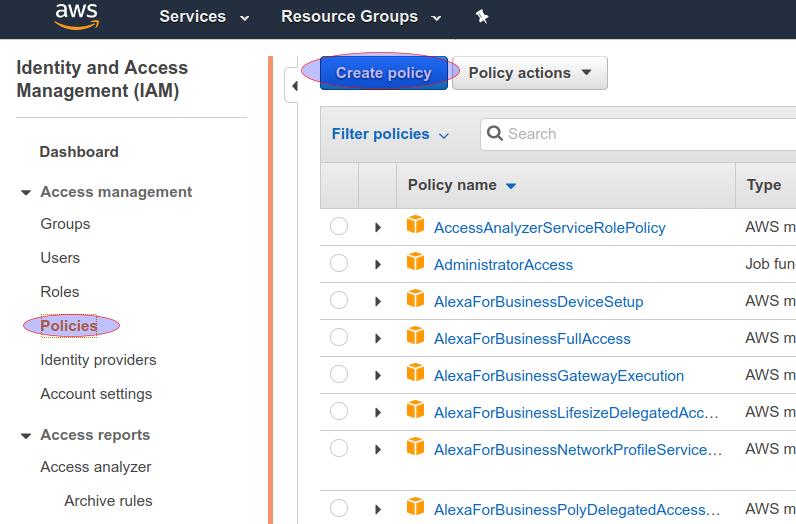
Next go to IAM console and create a new policy which allow user following permissions.
- route53:ListHostedZones
- route53:GetChange
- route53:ChangeResourceRecordSets
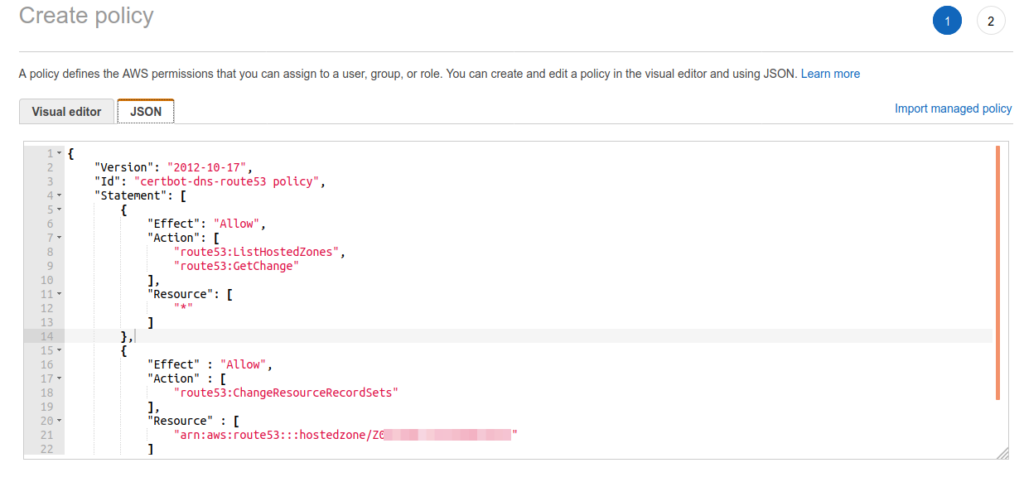
Below is the JSON code for this policy.
{
    "Version": "2012-10-17",
    "Id": "certbot-dns-route53 policy",
    "Statement": [
        {
            "Effect": "Allow",
            "Action": [
                "route53:ListHostedZones",
                "route53:GetChange"
            ],
            "Resource": [
                "*"
            ]
        },
        {
            "Effect" : "Allow",
            "Action" : [
                "route53:ChangeResourceRecordSets"
            ],
            "Resource" : [
                "arn:aws:route53:::hostedzone/Z063YOURHOSTEDZONEID"
            ]
        }
    ]
}
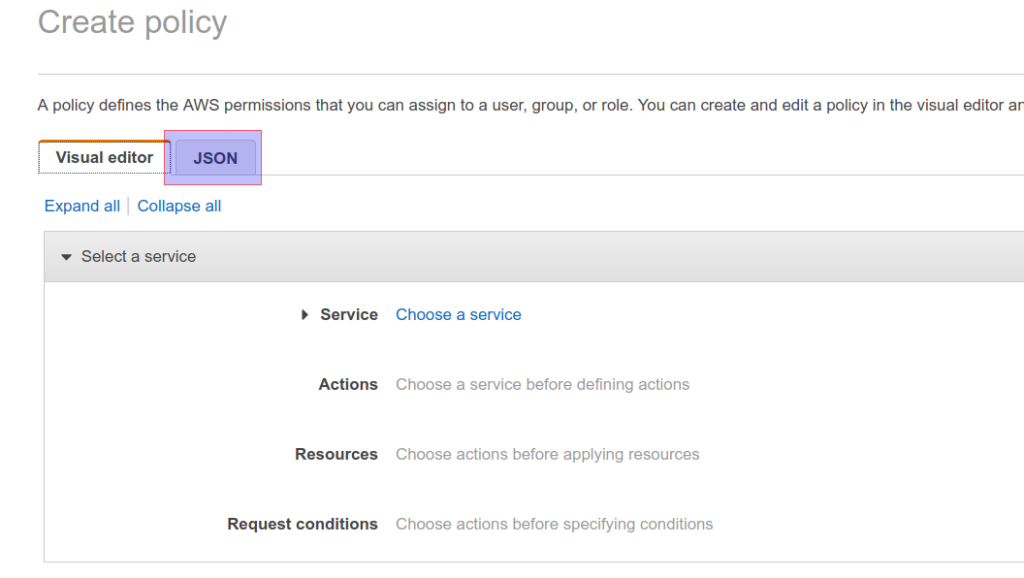
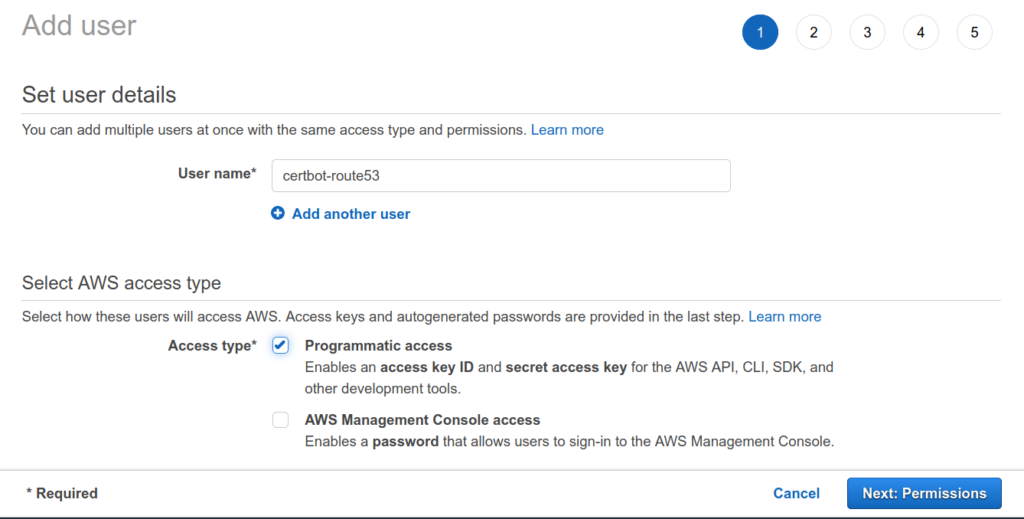
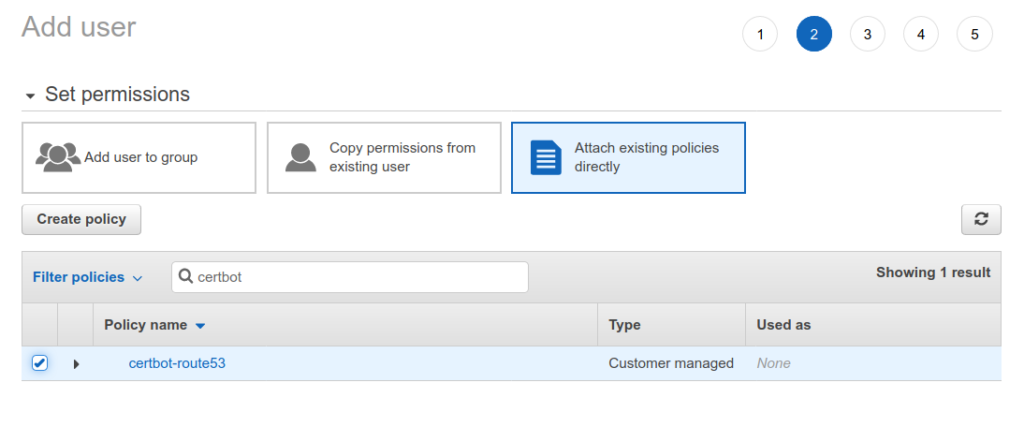
See screenshots below on how to create the policy and user
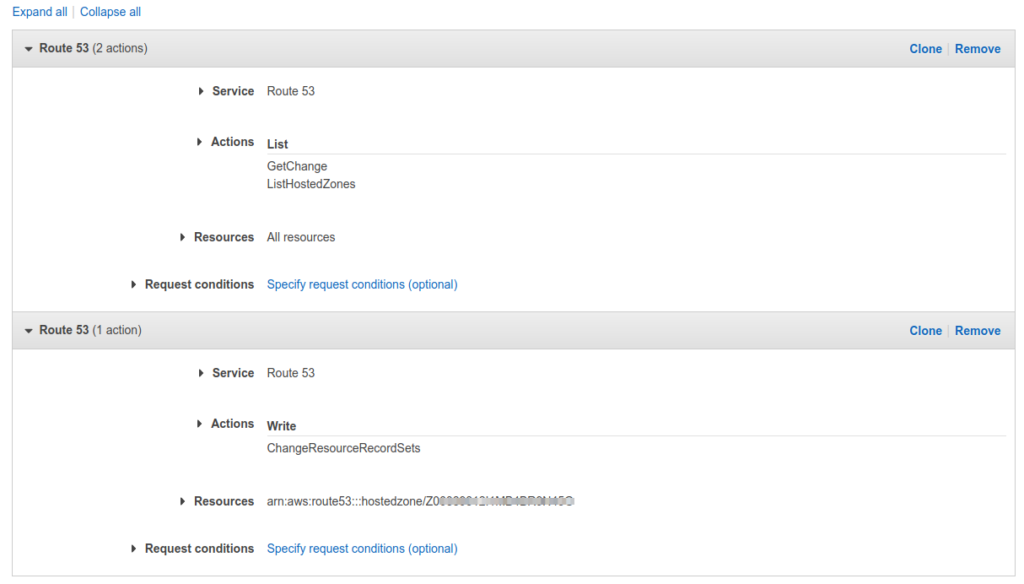
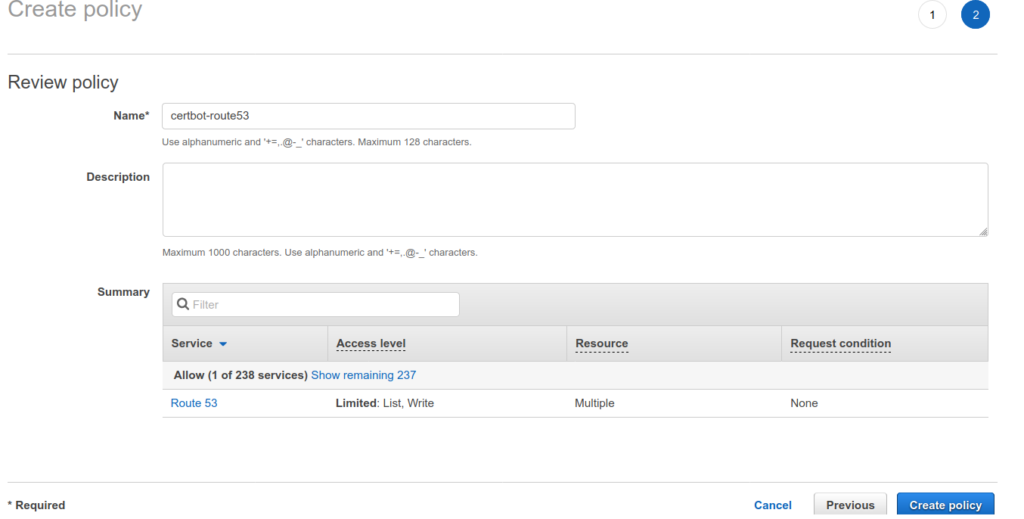

Next we create a new IAM user and attach this newly created policy to it.
Then attach the policy we setup in above steps to this user.
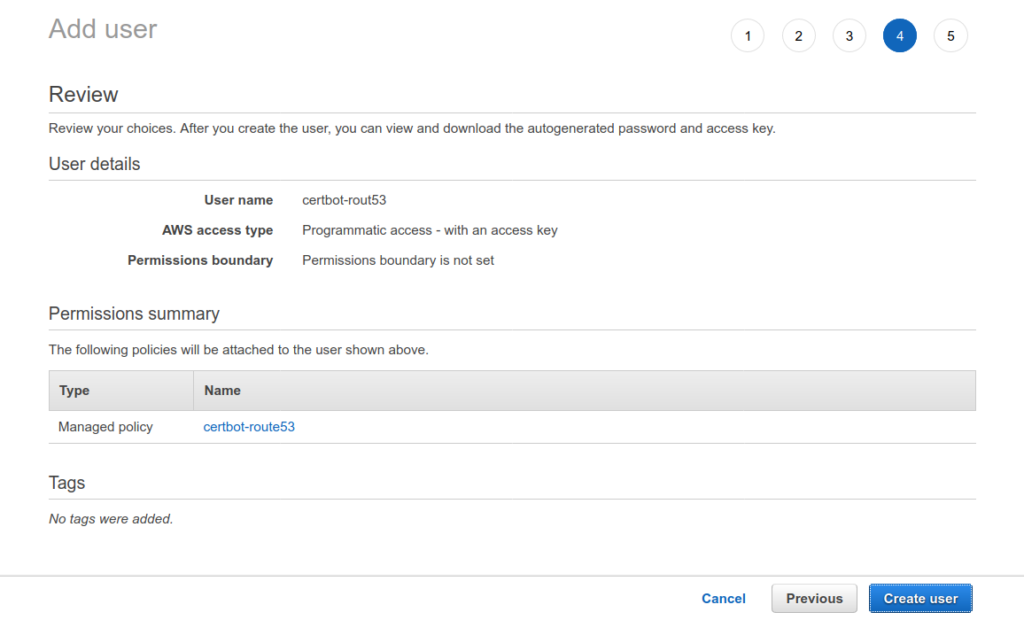
Finally note the access key and the secret.

We are almost ready to get the SSL certificate, but before we do that we need to configure the awscli installed in first step with the access key and secret, to do this run the command.
aws configure
When prompted enter the required details.
We are finally ready to get our ssl certificate, run the command
certbot certonly --dns-route53 -d yourdomain.com
If all goes well you will see output like
Saving debug log to /var/log/letsencrypt/letsencrypt.log
Found credentials in shared credentials file: ~/.aws/credentials
Plugins selected: Authenticator dns-route53, Installer None
Obtaining a new certificate
Performing the following challenges:
dns-01 challenge for yourdomain.com
Waiting 10 seconds for DNS changes to propagate
Waiting for verification...
Cleaning up challenges

IMPORTANT NOTES:
 - Congratulations! Your certificate and chain have been saved at:
   /etc/letsencrypt/live/yourdomain.com/fullchain.pem
   Your key file has been saved at:
   /etc/letsencrypt/live/yourdomain.com/privkey.pem
   Your cert will expire on 2020-12-04. To obtain a new or tweaked
   version of this certificate in the future, simply run certbot
   again. To non-interactively renew *all* of your certificates, run
   "certbot renew"
 - If you like Certbot, please consider supporting our work by:

   Donating to ISRG / Let's Encrypt:   https://letsencrypt.org/donate
   Donating to EFF:                    https://eff.org/donate-le
You can now use this ssl certicate with your application.