django is a popular python framework to build web apps and web site development. Here I will demonstrate how we can setup a project to serve with Apache mod_wsgi.
We are going to setup a basic Python3 django project. On a Ubuntu server we will need to install following packages.
apt install apache2 apache2-bin libapache2-mod-wsgi-py3
Note we are installing libapache2-mod-wsgi-py3, this one is required for python3.
The recommended method to install a django project is to set it up in a virtual environment of its own. We start with creating one, as a non-root user run, I will use user udjango
python3 -m venv env
source env/bin/activate
pip install django
We have install django in the virtual environment, now lets create our project named project1
django-admin startproject project1
cd project1
python manage.py migrate
This sets the basic scaffolding for our project. Next edit project1/settings.py and add the hostname/IP/FQDN from where you will access it in ALLOWED_HOSTS . e.g. I will be access it with this url http://127.0.0.1/
ALLOWED_HOSTS = ["127.0.0.1","localhost"]
Now lets quickly run it.
python manage.py runserver
If all goes well it will show

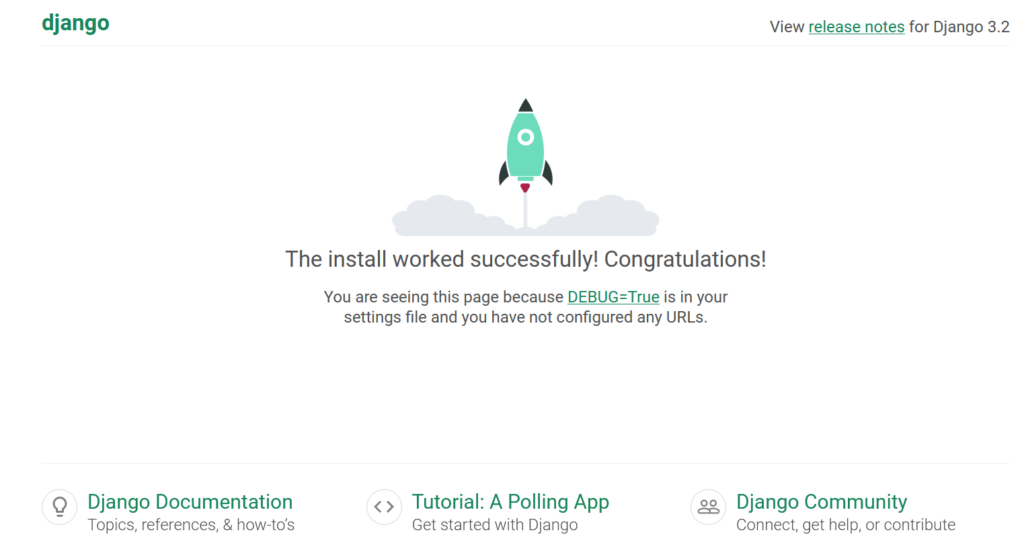
Point your browser to http://127.0.0.1:8000/, you should see a page like

We have got the django setup running but is not production ready yet. We will now make it accessible with apache/mod_wsgi. For this create a new virtualhost like this.
<VirtualHost *:80>
        ServerName project1
        WSGIDaemonProcess project1 user=udjango group=udjango processes=2 threads=5 python-home=/home/udjango/env python-path=/home/udjango/project1/
        WSGIProcessGroup project1
        WSGIScriptAlias / /home/udjango/project1/project1/wsgi.py process-group=project1

        <Directory /home/udjango/project1/project1>
        <Files wsgi.py>
        Require all granted
        </Files>
        </Directory>
</VirtualHost>
Restart apache and we are ready to serve our django project with apache/mod_wsgi.